Void Analysis
Analysing inclusions in workpieces
X-ray tomography coordinate measuring machines are used to X-ray the workpieces and reconstruct a virtual workpiece volume. In principle, this also contains information about the inside of the workpiece. Find out here what evaluation options the WinWerth® measurement software offers.
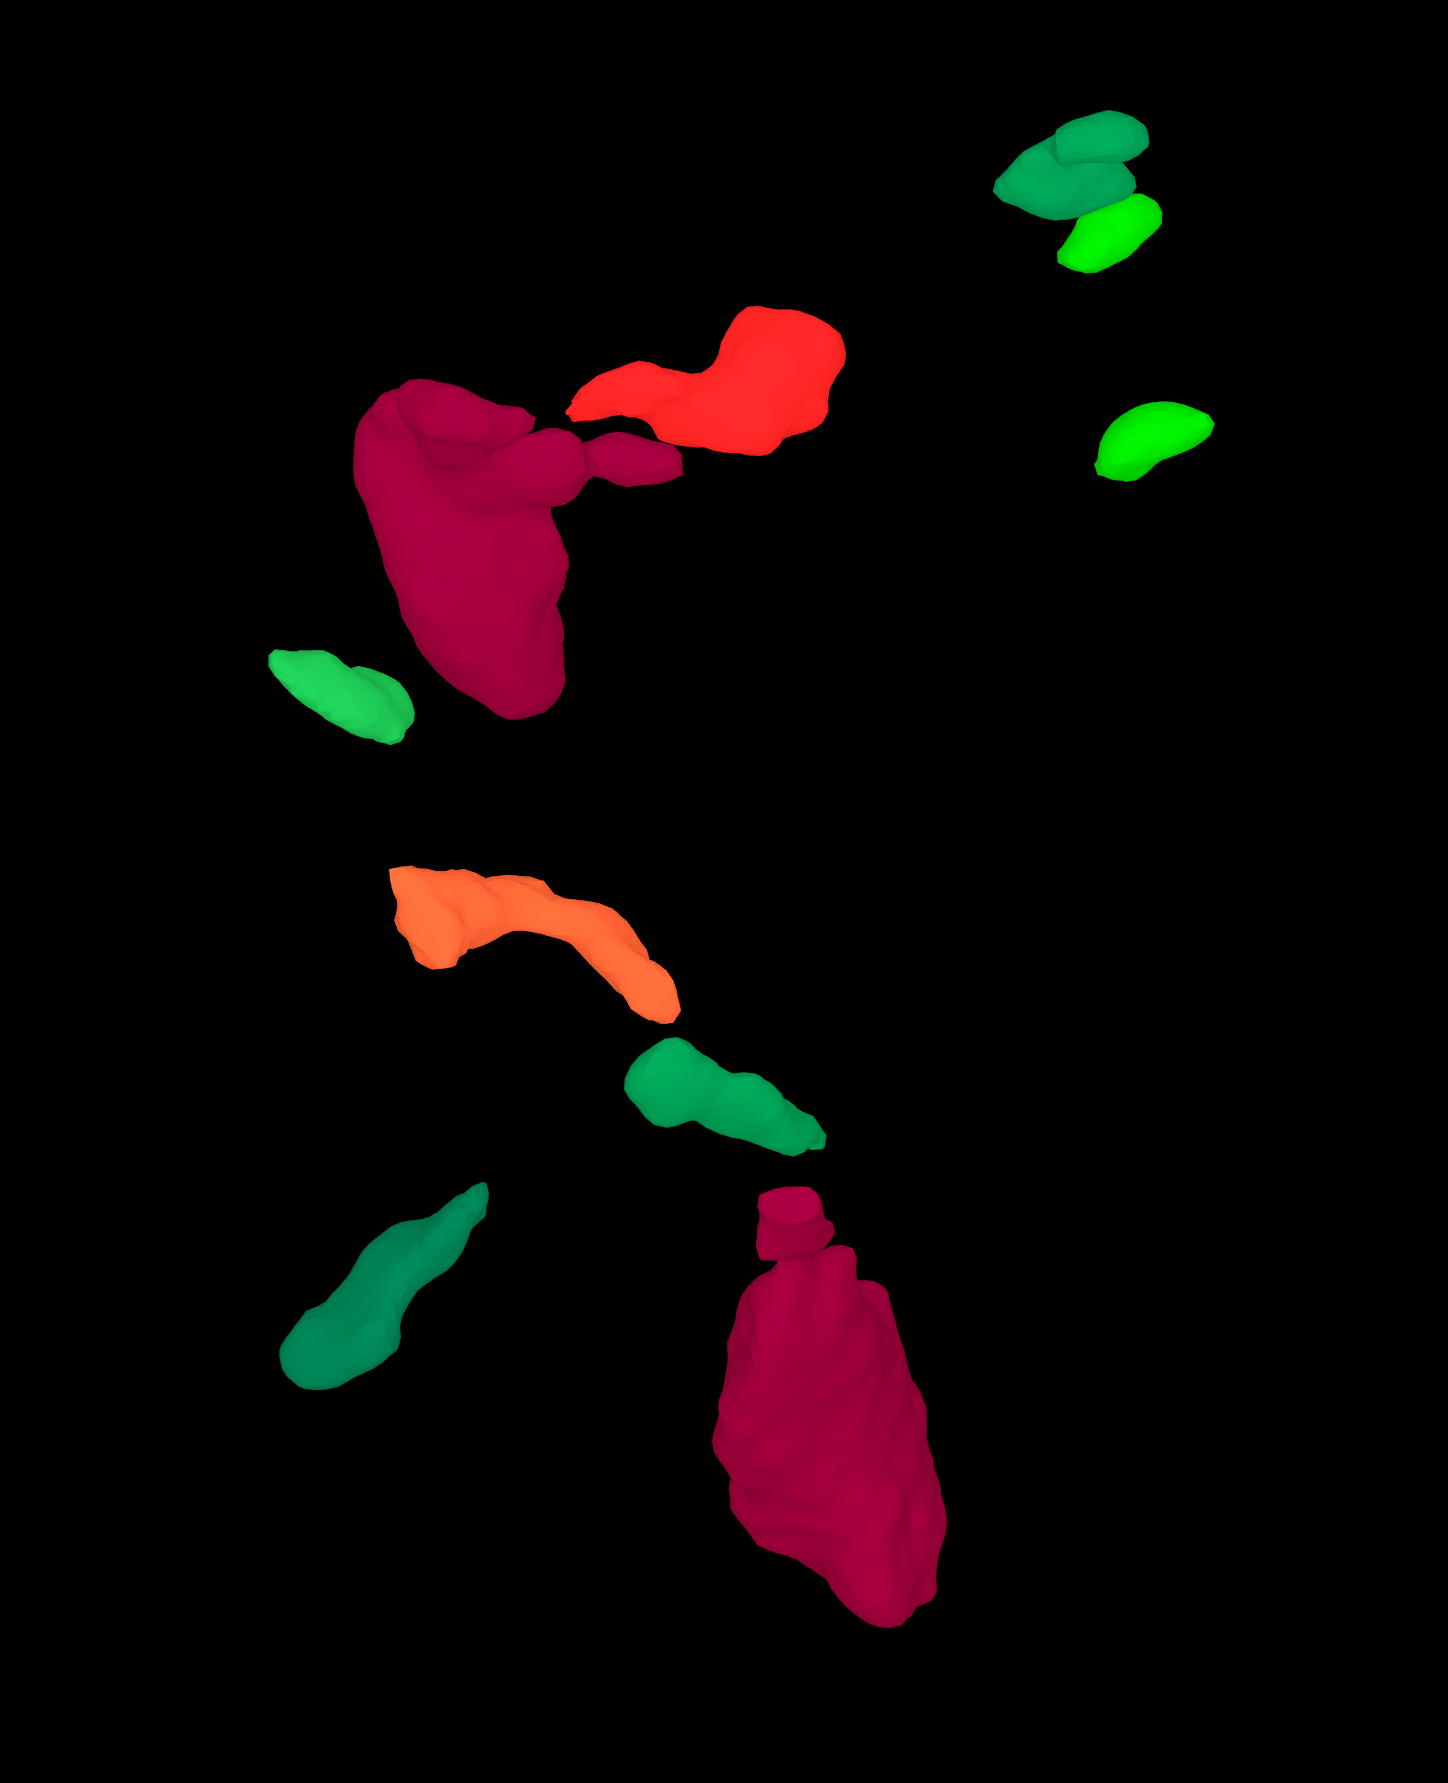
Voids can impair the functionality of the workpiece. This can affect the strength of the workpiece in highly stressed regions, but the suitability for further processing of the workpieces can also be tested, e.g. if surfaces would be penetrated by voids according to mechanical processing. In addition to the workpiece volume, the positions, the total volume and the number of voids can also be calculated.
A colour-coded display of the voids in the workpiece volume and the output of the largest, smallest and average volume content is also possible. Typical application examples are in plastic injection moulding and metal moulding.
